Ilmainen toimitus
Kaikkiin yli 250 € ostoksiin ilmainen toimitus.


285,00 € (incl. VAT 25.5%)
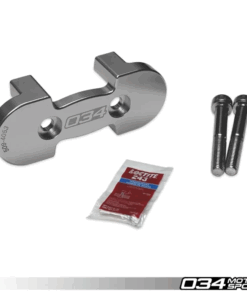
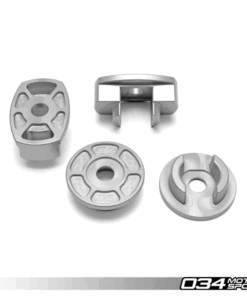
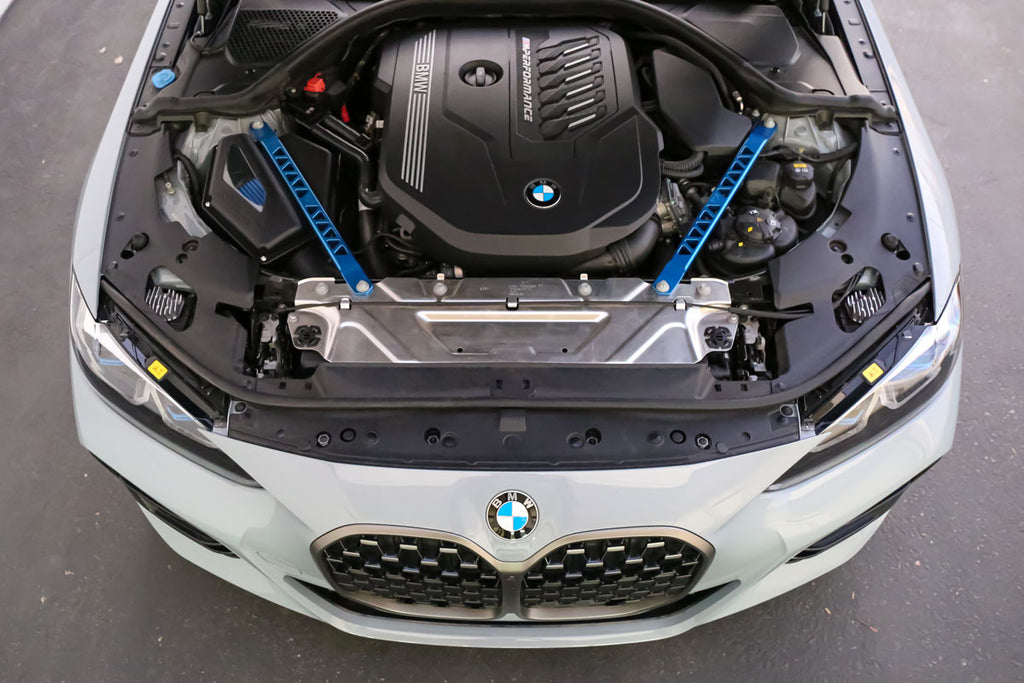
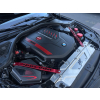
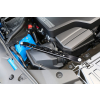
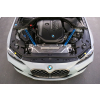
Stylish billet engine bay braces for G-series models, available in multiple colors. Direct bolt-on installation.
Kaikkiin yli 250 € ostoksiin ilmainen toimitus.
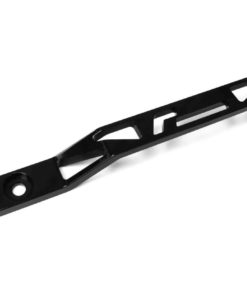
Upgrade the front-end rigidity of your BMW with these premium BMS billet strut cross braces. CNC-machined from thick, lightweight billet aluminum, each brace features a clean one-piece design with an engraved BMS logo for a high-end appearance under the hood. In addition to the visual upgrade, these braces provide improved chassis stability and reduced flex during cornering.
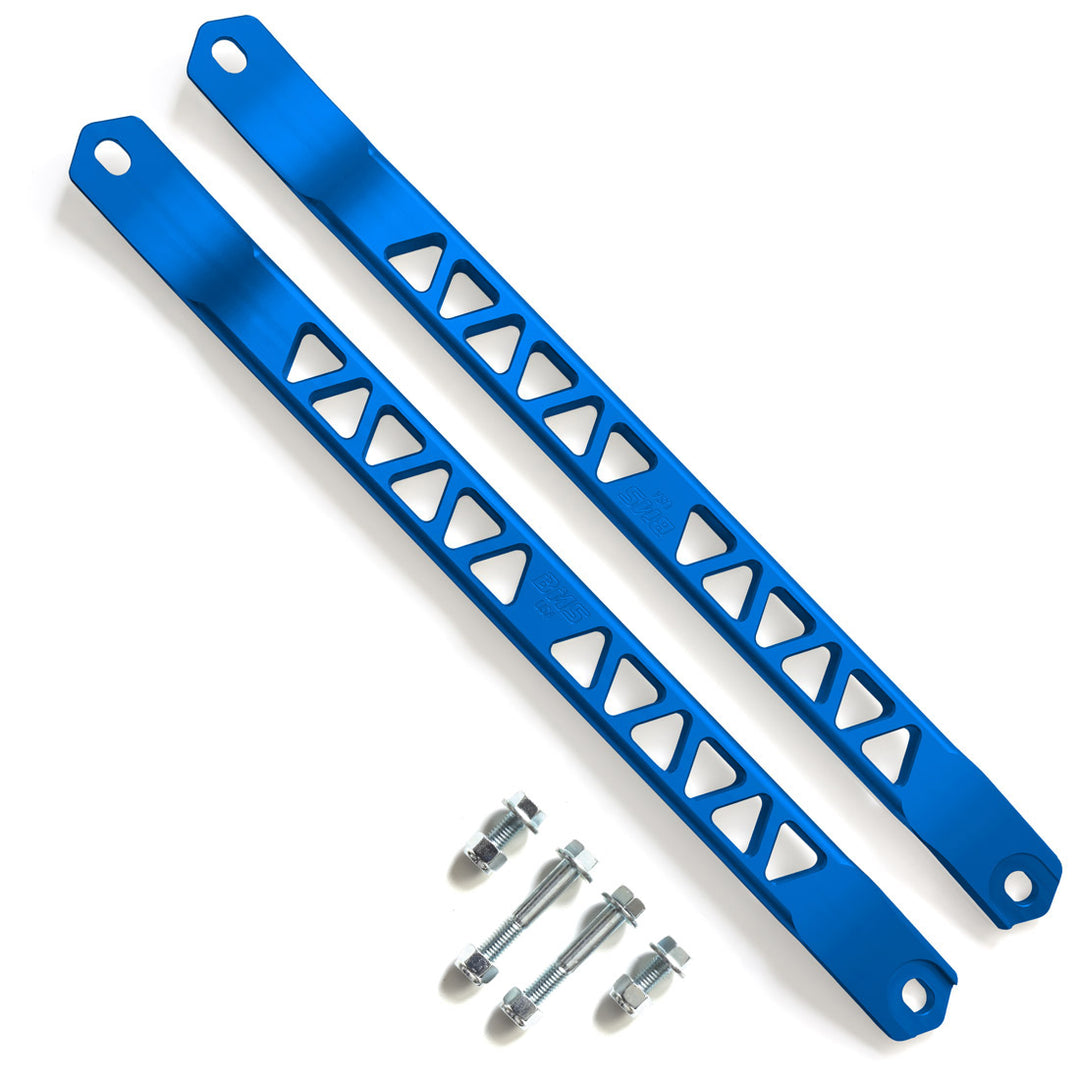
These braces install as a direct bolt-on with no drilling required and are available in several anodized finishes: Black, Silver, Blue, and Red. Sold as a pair.
Note: Not compatible with the BMS B58 Billet Intake or big single turbo setups.
Compatible with:
• BMS B58 BMW M240i / M340i / M440i Competition Cold Air Intake
• BMS B48 BMW 230i / 330i / 430i Competition Cold Air Intake
BMW 2 Series – G42
2022+ 230i, M240i, M240i xDrive
BMW 3 Series – G20 / G21
2019+ 318d, 320d, 320dx, 320i, 320ix, 325i, 330d, 330dx, 330i, 330ix, 330e, M340i, M340ix
BMW 4 Series – G22 / G23 / G26
2021+ 430i, 430ix, M440i, M440ix (incl. Gran Coupé)
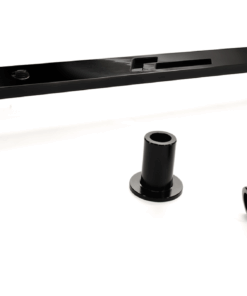
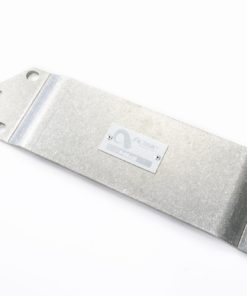
(2) CNC-machined billet aluminum strut braces
(2) Short flange bolts – front (M8 x 1.25, 20 mm)
(2) Long flange bolts – rear (M8 x 1.25, 50 mm)
(4) Lock nuts (M8 x 1.25)
Note: 430i and M440i models use factory mounting hardware and do not include bolts.
Vehicles with factory strut braces:
Remove the factory braces and replace them with the BMS billet braces using the original hardware. The BMS logos should face outward.
Vehicles without factory strut braces:
Position the BMS braces with the logos facing outward. Insert the long bolt through the upper mounting point and strut tower into the wheel well. Install the short bolt through the front mounting point and secure with the supplied lock nuts. Tighten all hardware and repeat on the other side.
| Weight | 2 kg |
|---|---|
| Brand |